
3D printing has transformed how we create objects, but finding the perfect balance between layer height, structural integrity, and production speed remains a challenge for makers and professionals alike.
Understanding the Layer Height Foundation 🔍
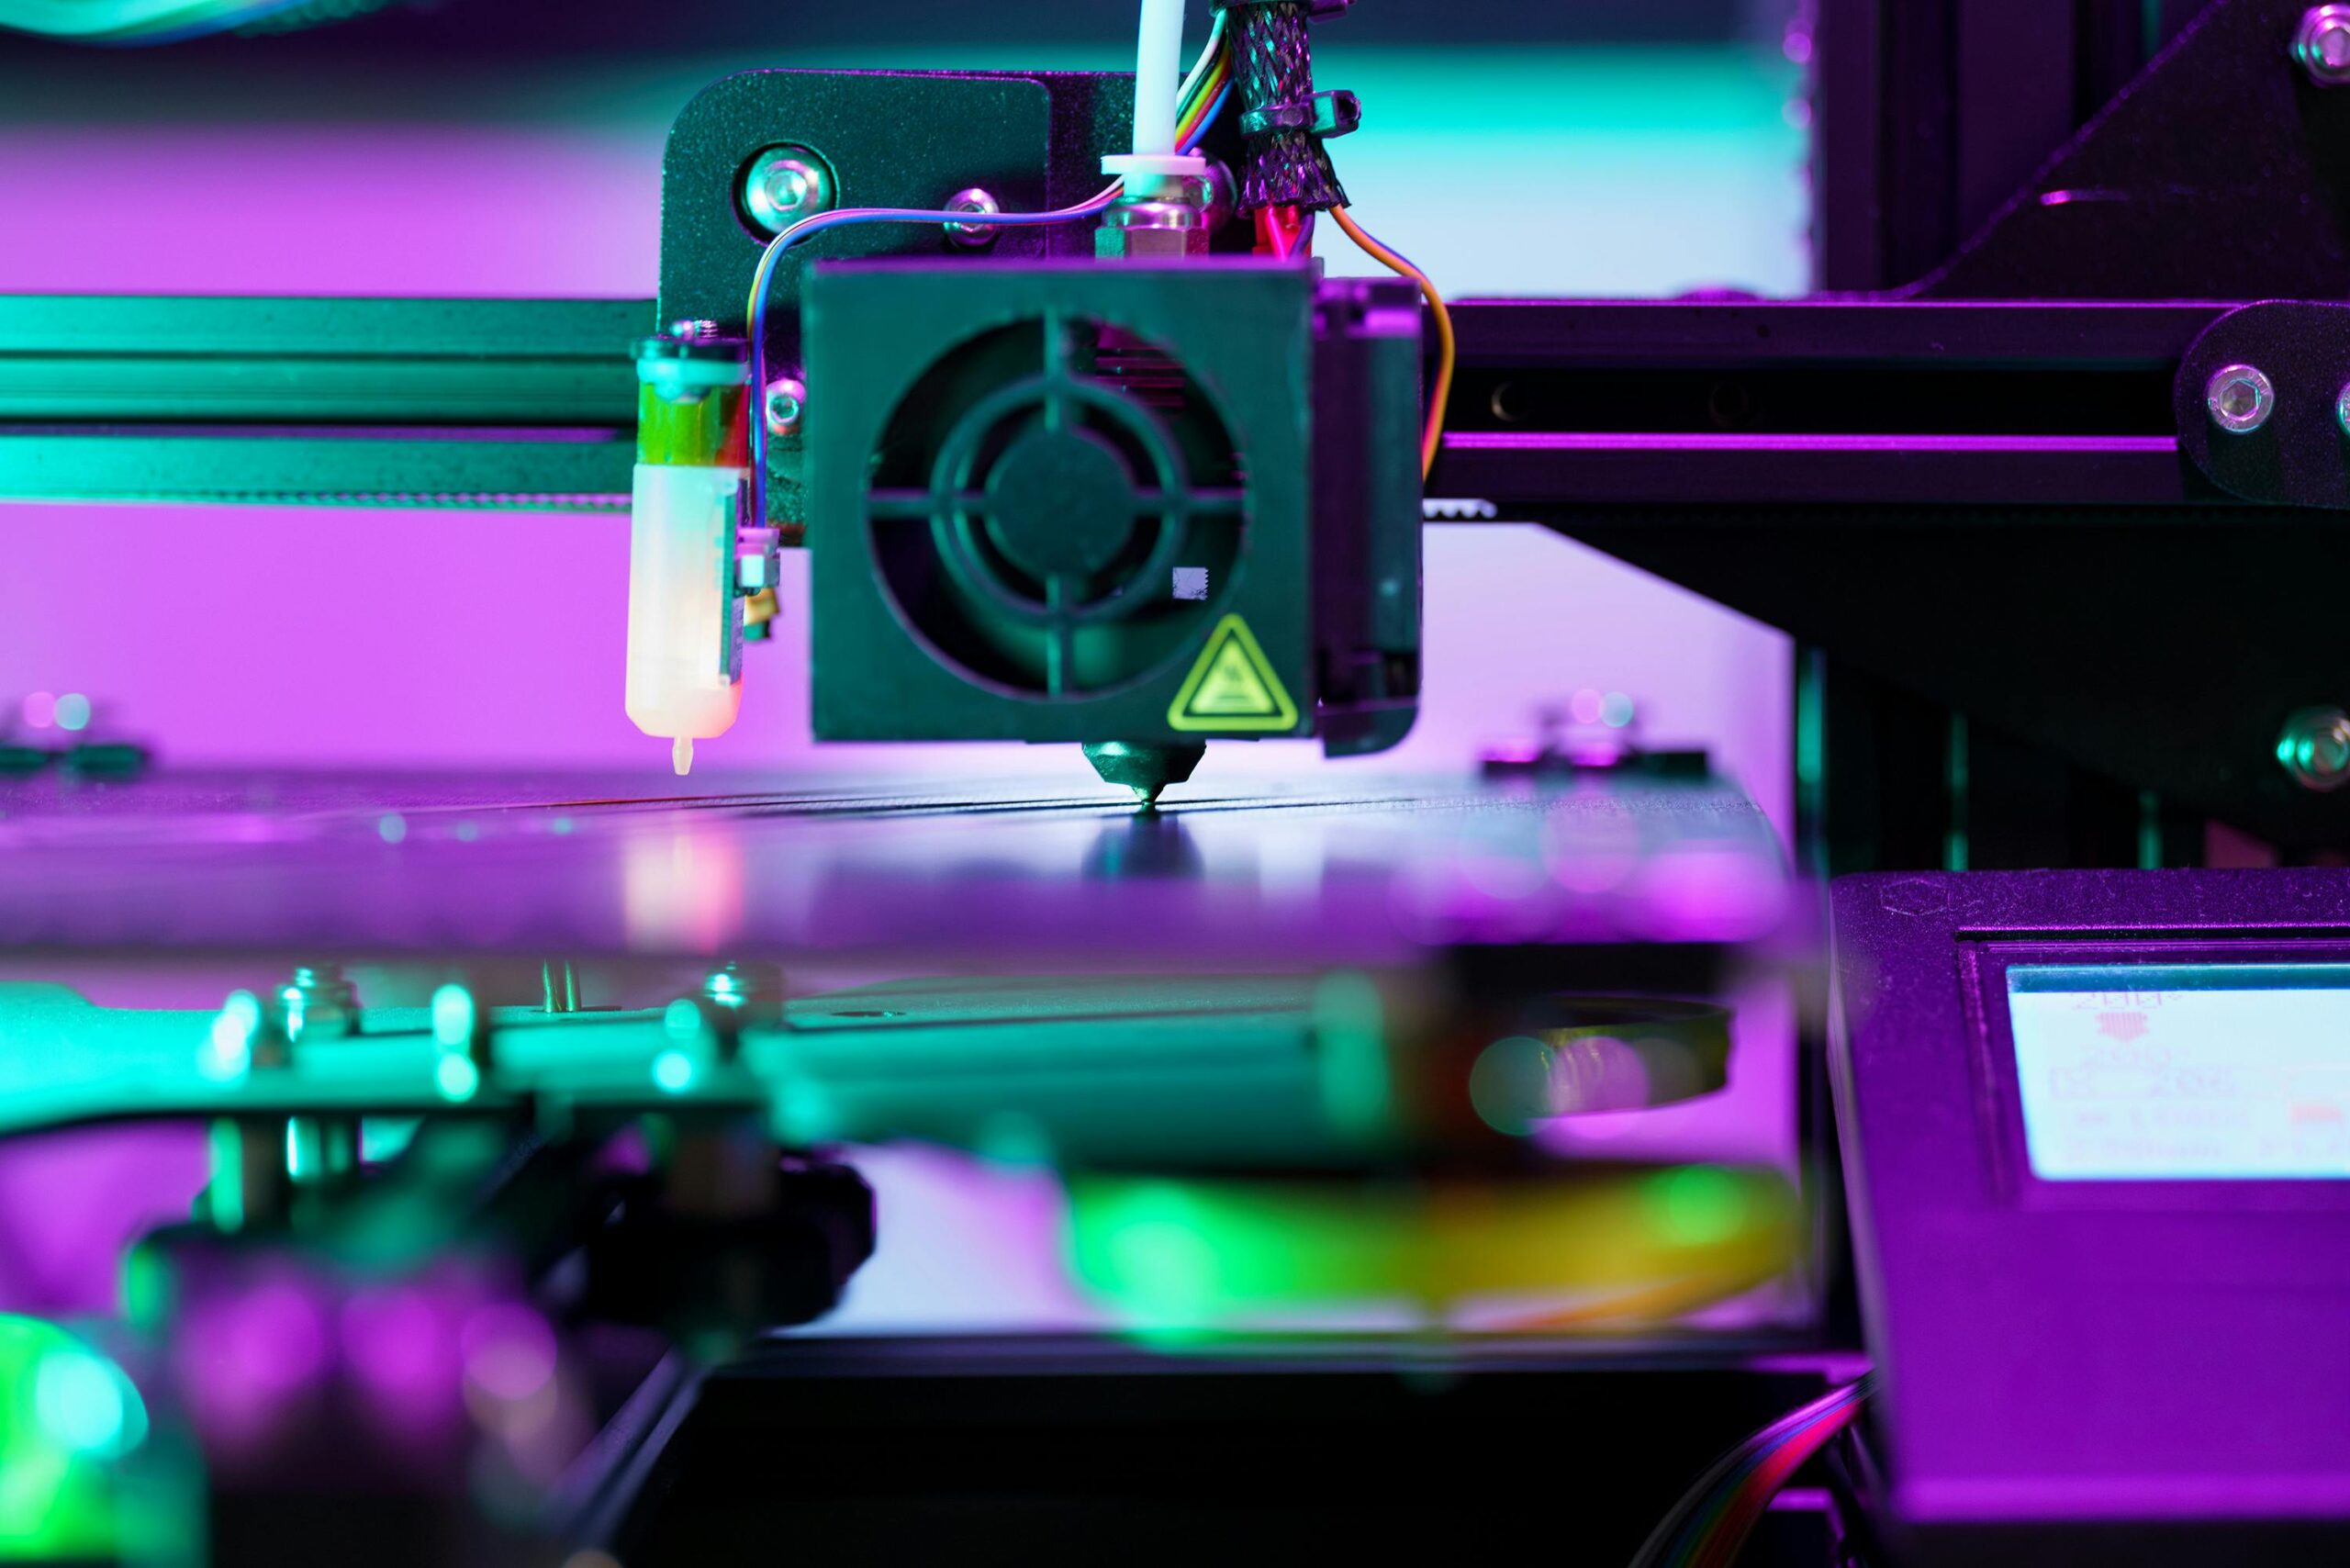
Layer height represents one of the most critical parameters in 3D printing, directly impacting the quality, strength, and duration of every print job. This measurement, typically ranging from 0.1mm to 0.3mm on most FDM printers, determines how thick each horizontal slice of your model will be. The layer height you choose creates a cascading effect throughout your entire printing process, influencing everything from surface finish to mechanical properties.
When you decrease layer height, you’re essentially asking your printer to build your object with thinner slices, similar to constructing a building with smaller bricks. This approach yields smoother surfaces and finer details, but requires significantly more layers to complete the same object. Conversely, increasing layer height speeds up the process but introduces visible layer lines and potentially compromises detail resolution.
The Mathematics Behind Layer Height Selection
The relationship between layer height and print time follows a relatively straightforward inverse proportion. If you reduce your layer height by half—say from 0.2mm to 0.1mm—your print time will approximately double, assuming all other settings remain constant. This mathematical reality forces makers to carefully consider their priorities for each project.
Most 3D printing experts recommend selecting layer heights that are approximately 25% to 75% of your nozzle diameter. For the standard 0.4mm nozzle, this translates to a practical range of 0.1mm to 0.3mm. Stepping outside these boundaries can lead to extrusion problems, poor layer adhesion, and unpredictable results.
Strength Considerations in Layer Bonding 💪
The strength of 3D printed parts depends heavily on layer adhesion—how well each layer bonds to the one beneath it. This bonding occurs when hot filament is deposited onto the previous layer, creating a molecular connection as the materials fuse together. Layer height plays a surprisingly nuanced role in this process, and bigger isn’t always weaker.
Many newcomers to 3D printing assume that thinner layers automatically produce stronger parts, but research and practical experience reveal a more complex picture. While thinner layers do increase the total number of bonds in a vertical cross-section, each individual bond may be slightly weaker due to faster cooling and less material fusion. Thicker layers allow more time for thermal bonding and create fewer potential failure points along the Z-axis.
The Sweet Spot for Structural Integrity
For purely functional parts where strength matters most, a layer height of 0.2mm to 0.25mm with a 0.4mm nozzle typically offers the best compromise. This range provides adequate bonding surface area while maintaining reasonable adhesion strength between layers. The key is ensuring your extrusion temperature and cooling settings are optimized for your chosen layer height.
Functional parts also benefit from other strengthening techniques that work synergistically with appropriate layer height selection. Increasing wall thickness, adjusting infill patterns, and orienting parts to minimize stress on layer boundaries all contribute to overall strength. A well-designed part printed at 0.25mm with thoughtful orientation will consistently outperform a poorly oriented part printed at 0.1mm.
Speed Optimization Without Sacrificing Quality ⚡
Print speed represents a significant concern for anyone running a 3D printing operation, whether for hobby projects or commercial production. Time is literally money when your printer sits idle or runs inefficiently. Understanding how to maximize throughput while maintaining acceptable quality standards separates successful makers from frustrated ones.
The most dramatic time savings come from increasing layer height, but this single adjustment should be part of a holistic optimization strategy. Consider your printer’s capabilities, the intended use of your parts, and whether anyone will actually notice the quality differences you’re worried about.
Calculating Real-World Time Savings
Let’s examine a practical example: a 50mm tall object printed with a 0.1mm layer height requires 500 layers. The same object at 0.2mm needs only 250 layers—cutting print time roughly in half. At 0.3mm, you’re down to approximately 167 layers, saving even more time. However, these calculations assume linear relationships that don’t account for acceleration, deceleration, and travel moves.
| Layer Height | Layers Required | Relative Print Time | Best Use Case |
|---|---|---|---|
| 0.1mm | 500 | 100% | Display models, detailed miniatures |
| 0.15mm | 333 | 67% | General purpose printing |
| 0.2mm | 250 | 50% | Functional parts, prototypes |
| 0.25mm | 200 | 40% | Strong functional parts |
| 0.3mm | 167 | 33% | Draft prints, internal components |
Material-Specific Considerations 🧪
Different filament materials respond differently to layer height variations, adding another dimension to your optimization decisions. PLA, PETG, ABS, and specialty materials each have unique thermal properties that affect how layers bond and how visible layer lines appear on finished parts.
PLA, the most popular filament for hobbyists, performs admirably across a wide range of layer heights. Its low printing temperature and minimal warping make it forgiving for experimentation. You can push PLA to 0.3mm layers for draft prints or dial it down to 0.1mm for detailed work without significant trouble.
Advanced Materials and Layer Height
PETG requires more attention to layer bonding due to its stringing tendency and higher printing temperature. This material actually benefits from slightly thicker layers (0.2mm to 0.25mm) which allow better thermal fusion between layers. The increased material flow helps overcome PETG’s tendency to string and creates stronger interlayer adhesion.
ABS and ASA present unique challenges with layer adhesion due to their high shrinkage rates. These materials demand careful temperature management and often benefit from moderate layer heights around 0.2mm. Going too thin increases the number of potentially weak bonds, while excessively thick layers may not bond properly due to rapid cooling.
Profile Strategies for Different Applications 🎯
Creating purpose-specific printer profiles streamlines your workflow and ensures consistent results. Rather than adjusting settings manually for each print, develop tested profiles for common scenarios you encounter regularly.
A “draft mode” profile might use 0.28mm to 0.3mm layers, 15% infill, and faster print speeds for internal components or fit-testing prototypes. Your “standard quality” profile could employ 0.2mm layers with 20% infill for everyday functional parts. Reserve your “high detail” profile with 0.12mm layers for presentation models and miniatures where surface quality matters most.
Dynamic Layer Height: The Best of Both Worlds
Modern slicing software offers adaptive or dynamic layer height features that automatically adjust layer thickness based on model geometry. Flat areas print with thicker, faster layers while curved surfaces and detailed sections receive thinner layers for better resolution. This intelligent approach can save substantial time while preserving quality where it matters.
Dynamic layer height works particularly well for organic models, figurines, and objects with varying complexity throughout their height. The slicer analyzes your model and creates a customized layer height map, potentially saving 20% to 40% of print time compared to using the finest layer height throughout.
Fine-Tuning Your Workflow for Maximum Efficiency 🔧
Achieving optimal 3D printing efficiency extends beyond simply choosing a layer height. Your complete workflow—from model preparation through post-processing—should align with your efficiency and quality goals.
Start by evaluating whether your models require the detail level you’re providing. Many functional parts perform identically whether printed at 0.15mm or 0.2mm layers, yet one setting consumes significantly more time. Challenge your assumptions about necessary quality and conduct actual testing to determine minimum acceptable standards.
Parallel Processing and Batch Optimization
Consider printing multiple smaller items simultaneously rather than sequentially. While this doesn’t reduce per-part time, it maximizes machine utilization and can actually improve quality by allowing adequate cooling time between layers. Arrange parts strategically on your build plate to minimize travel moves and wasted motion.
Batch printing similar items allows you to invest time in perfecting settings once, then producing multiple parts with confidence. Document your successful profiles thoroughly, noting layer height, temperatures, speeds, and any quirks specific to that part geometry or material combination.
Testing and Validation Methods 📊
Systematic testing removes guesswork from your layer height decisions and builds a knowledge base specific to your equipment and materials. Create standardized test prints that evaluate both visual quality and mechanical properties across different layer heights.
A simple test involves printing the same object at 0.1mm, 0.15mm, 0.2mm, 0.25mm, and 0.3mm layer heights. Compare print times, surface finish, dimensional accuracy, and if relevant, mechanical strength through practical testing. Photograph each sample under consistent lighting to document visible differences.
Mechanical Testing for Strength Validation
For functional parts, conduct actual strength testing rather than relying on assumptions. Print standardized tensile test specimens at various layer heights and test them to failure. This empirical data reveals which settings provide adequate strength for your applications without over-engineering parts.
Remember that orientation often matters more than layer height for strength. A part printed vertically at 0.25mm layers may be significantly weaker than the same part printed horizontally at 0.3mm, depending on how loads are applied during use. Test in orientations that match real-world applications.
Common Mistakes and How to Avoid Them ⚠️
Many makers fall into predictable traps when optimizing their printing parameters. The most common mistake involves using excessively fine layer heights for parts that don’t require such detail. This perfectionism wastes time and electricity without delivering meaningful quality improvements.
Another frequent error is changing too many variables simultaneously. When optimizing settings, adjust layer height independently from speed, temperature, and retraction changes. Otherwise, you cannot determine which adjustment produced your results—positive or negative.
The Resolution Obsession Problem
Beginners often fixate on achieving the finest possible layer resolution, treating 0.1mm layers as inherently superior to 0.2mm alternatives. This mindset ignores the trade-offs and practical realities of 3D printing. Parts printed at 0.2mm are not “worse”—they’re simply different, and often more appropriate for functional applications.
Break free from resolution obsession by asking what your part actually needs. Will thicker layer lines affect functionality? Will anyone besides you notice the surface quality? Is doubling your print time justified for marginally smoother surfaces? Honest answers to these questions lead to smarter optimization choices.
Looking Forward: Balancing All Three Factors 🎪
The sweet spot between layer height, strength, and print time exists in different places for different applications. No universal setting satisfies every need, which is why understanding the relationships between these factors matters more than memorizing specific numbers.
For most general-purpose printing, a layer height between 0.15mm and 0.2mm with a standard 0.4mm nozzle provides excellent results. This range delivers good surface quality, adequate strength for functional parts, and reasonable print times. As you gain experience, you’ll develop intuition for when to deviate from this baseline.
Ultimately, maximizing 3D printing efficiency means making informed decisions based on clear priorities. Sometimes that means accepting rougher surfaces to meet a deadline. Other times it means investing extra hours to achieve presentation-quality results. The key is understanding exactly what you’re trading and making those trades deliberately rather than by default.
Start documenting your results, building a personal knowledge base that reflects your specific equipment, materials, and application requirements. This investment in systematic learning pays dividends across every future print, transforming you from someone who follows generic advice into a maker who optimizes confidently for each unique situation.